This overview guides you through playing a turn of the Intro campaign, which is a simplified, hypothetical Pacific scenario. In this scenario, a turn represents one month of real time.
(Note: the 'Intro' scenario is purely for demonstrating the most basic mechanics of game play. It makes no attempt at play-balance or historical accuracy. Players should move on to one of the more realistic scenarios as soon as possible.)
This quick walk through will get you going in the minimum time. Many screens will be featured only cursorily. Later you can learn how to use the screen information and controls more thoroughly. Almost every screen has a '?' button, usually at the top-right side. Clicking this will bring up context help for that screen. You can use this feature during this walk through any time you want. But be aware that this will extend the time it will take to play the first turn.
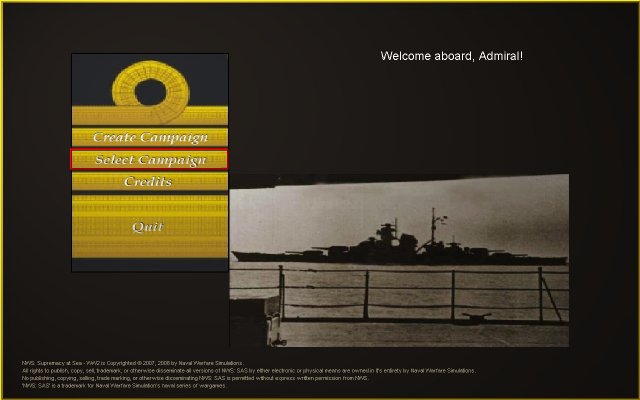
You should be at the Start Screen:
Move your mouse over the 'Select Campaign' option on the Start Screen. The option will now be bordered in red:
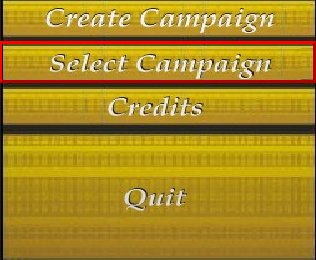
Click on the option. A new screen will now appear, where you select the campaign you want to play:
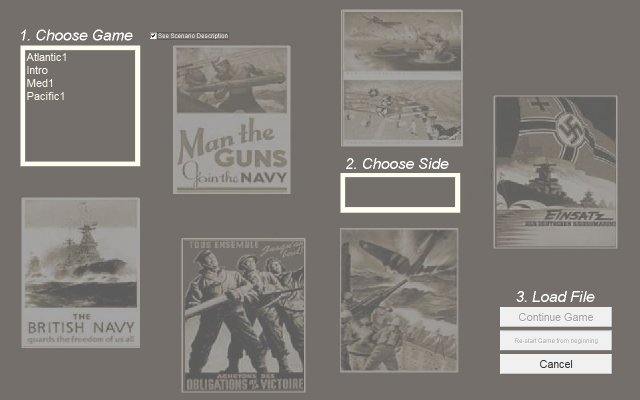
To select the Intro campaign:
You will now see a short description of the Intro campaign in a pop-up help page:
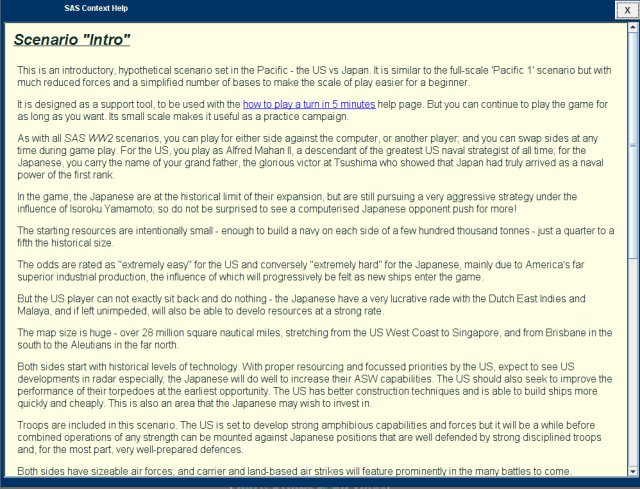
After reading the page, close it by clicking on the 'X' button at the top right of the screen:

(Use of the separate 'Re-start Game from beginning' option is explained in how to load a game).
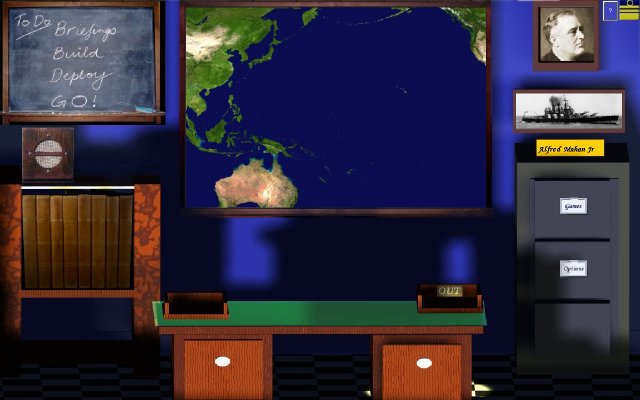
You are now in your Admiral's Office, ready to start the game for the United States. Your Admiral's Office is your command centre for giving orders and reviewing information:
Playing one turn of the game involves doing four things in sequence. This help page sequentially takes you through all of them:
There are three kinds of information available to you:
For this 5 minute walk-through you will learn how to access this information. Later you can learn how to make use of it.
To access the Theatre Map, click on the big wall map on the wall of your Admiral's Office. The map will expand to full screen size. It should look like this:
 .
.
The map shows the geographic location and status of your own fleets and and known enemy fleets and ships, as well as your own and enemy troop and aircraft strengths. You can see detailed mappings of how your air power currently projects into every hex of the thetare map; and you can do the same for the enemy's air power (as known to you from your intel). You can also see your own minefields and suspected enemy minefields. And you can link to detailed information about the current orders for all of your fleets.
The map includes controls for enabling or disabling the display of various kinds of information.
Close the map by clicking on the top-right SAS WW2 icon  .
.
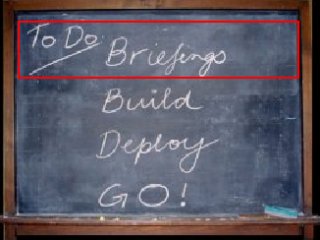
To access the Briefing Report, click on 'Briefings' on the blackboard to the left of your Admiral's Office:
You will see the report open on your desk. It will look like this:
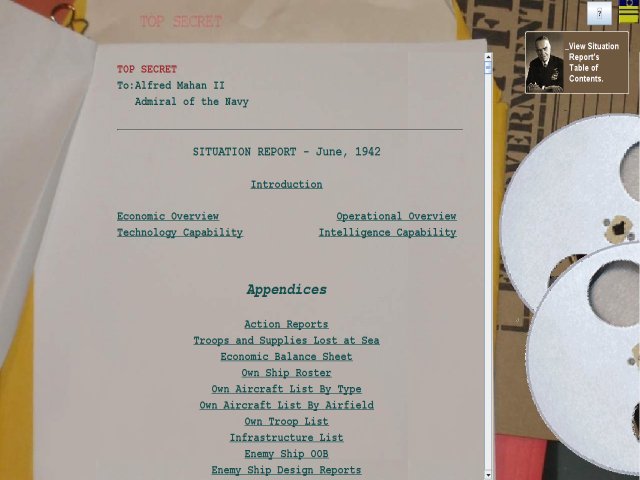
Except for the first turn, the report gives an overview of action from the last turn with links to any battles and summary information on losses of ships, troops and aircraft and a detailed economic balance sheet. Enemy intelligence is also summarised - their technology, current order of battle for their navy, and intel on their ship characteristics. Details of all your own resources - ships, troops, aircraft and infrastructure at your ports and airfields are provided, as are summary service records for your fleets and ships.
You can jump to sections in the report using the links on the first page table of contents; and you can also just scroll through the report.
The turn replay is not available at the start of the game. You will see the replay later on in this help guide.
Close the Briefing Report screen by clicking on the SAS WW2 icon at the top-right of the screen. This returns you to the Admiral's Office.
You can now add to your ships, aircraft, troops and infrastructure by building more.
Automated help is available for all these tasks, so it takes a few seconds only to do all of this if you use the help to the maximum extent.
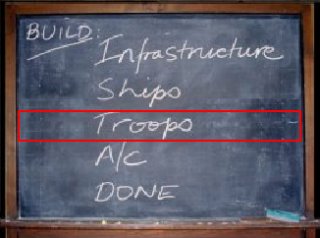
The recommended order of play is to build in this order:
Click 'Build' on the top-left blackboard:

You will now see the Build Menu on the blackboard:
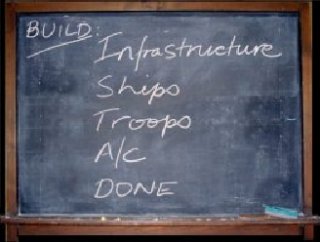
Click 'Infrastructure' on the blackboard menu:
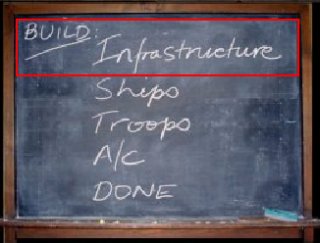
You will now see this screen:
Infrastructure means the facilities at each of your ports - dockyards, defences and surrounding airfields as well as the level of industrial development servicing the port. It also includes your training facilities and levels of technology R&D and enemy intelligence.
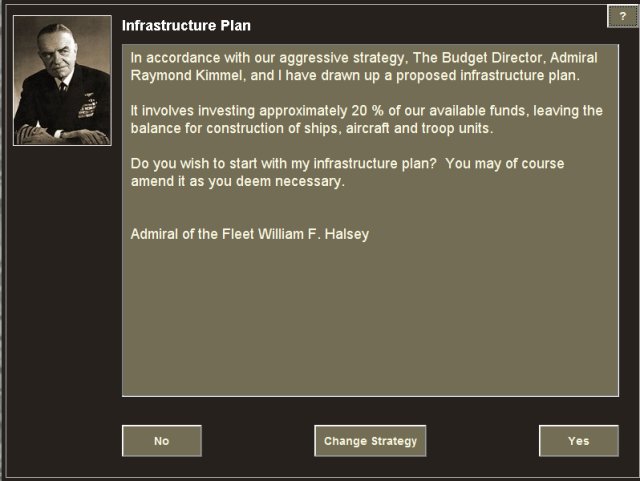
Your 2IC has planned how many resource points (RPs) to spend on infrastructure, and where to spend them - based on your current 'aggressive' strategy. To see the plan, click the 'Yes' button at the bottom-right of the screen: 
The details of the plan will appear:
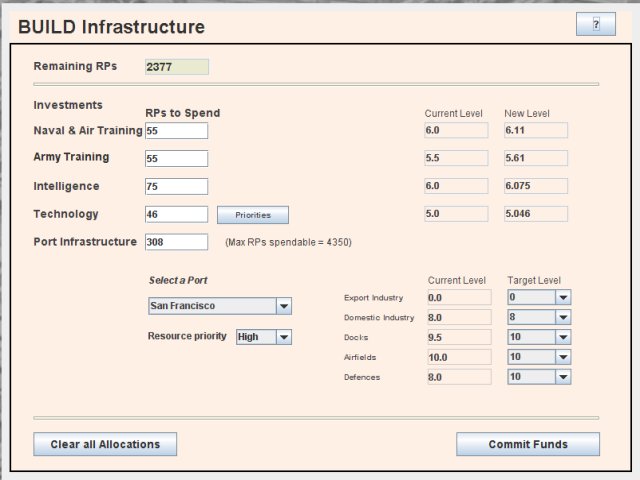
You can use this screen to edit any aspect of the plan; but for now, just accept it without amendment by clicking the bottom-right 'Commit Funds' button to lock in the plan:
You will be returned to your Admiral's Office. The phase of the turn related to building infrastructure is now complete.
The Intro campaign starts with no ships on the US side so you must build them now. Ships built on the first turn then become available immediately (unless specifically delayed).
The simplest way to build a navy from scratch is to rely (again) on your 2IC. He can select the right types of ships and balance the numbers of battleships, cruisers, escort ships and so on, to suit your overall strategy.
You can vary any part of his plan or do it all yourself and even design your own ships, but for now, the simplest option will be followed.
Click 'Ships' on the blackboard menu:
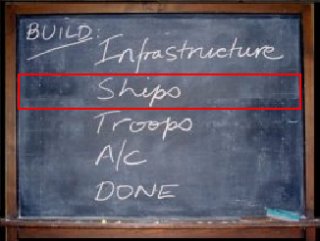
You will now see this screen:
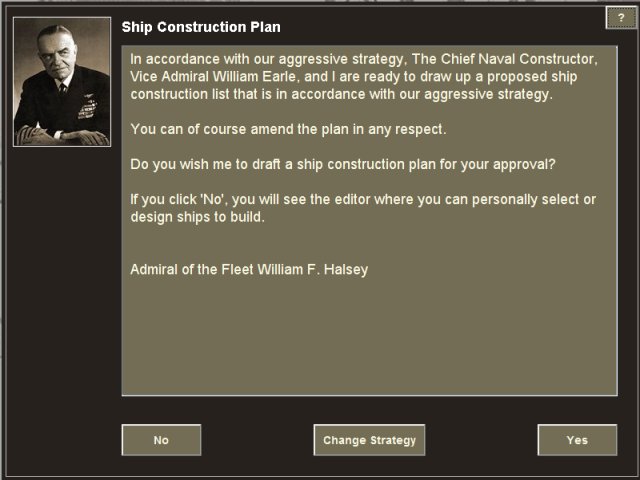
Click the 'Yes' button at the bottom-right of the screen to authorise the construction of a navy by your 2IC.
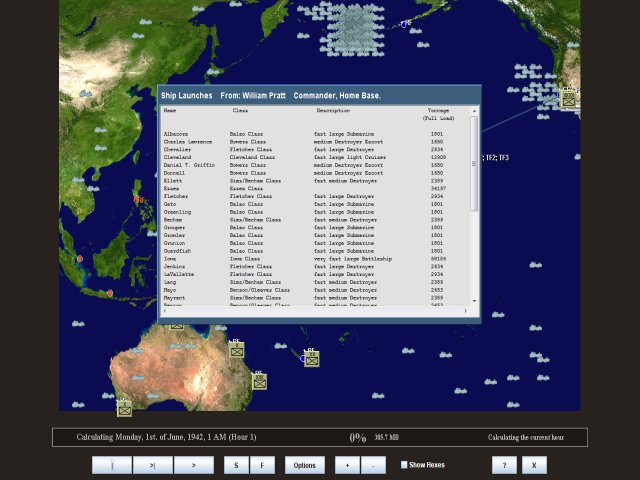
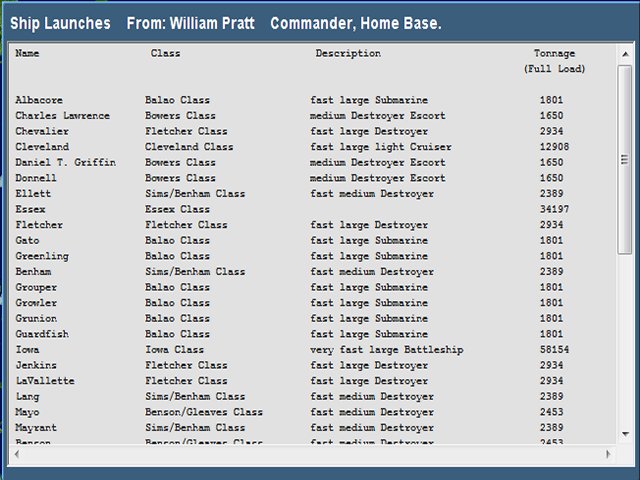
After a few seconds, you will see a scrollable list of the ships listed by type:
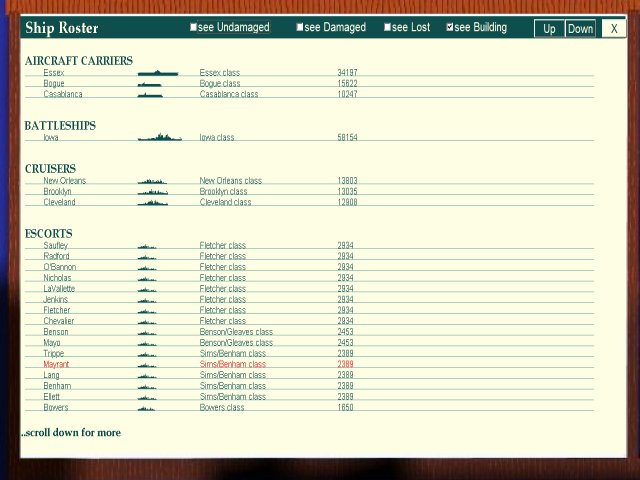
Close the screen by clicking the top-right 'X' button:  . You will now see a screen where you can edit the plan by selecting or designing some of your own ships:
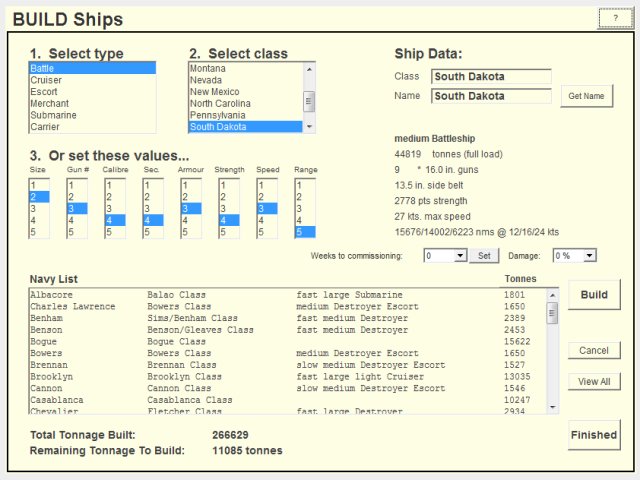
For this quick walk-through, no editing will be done. Just agree to the plan by clicking the 'Finished' button
 at the bottom-right of the screen. You will now be back in your Admiral's Office. The build ships phase of the turn is now complete.
The Intro campaign starts with some troops on each side, but you can also raise some more. These always start at your home base.
Click 'Troops' on the blackboard menu:
You will then see this screen:
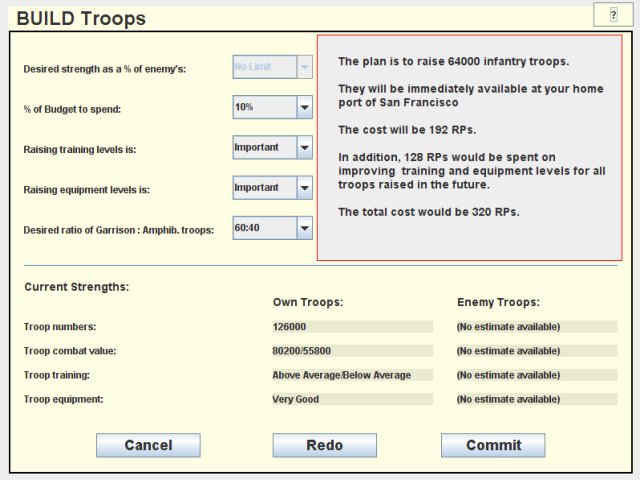
Again, your 2IC has prepared a plan based on your strategy and various specific attributes. Normally you may want to modify the plan, but for this quick run-through just agree to the plan by clicking the 'Commit'
 button at the bottom-right of the screen. You will now be back in your Admiral's Office. The build troops phase of the turn is complete.
The Intro campaign starts with no aircraft yet available for your carriers and land-based airfields.
Click 'A/C' on the blackboard menu:

You will now see this screen:
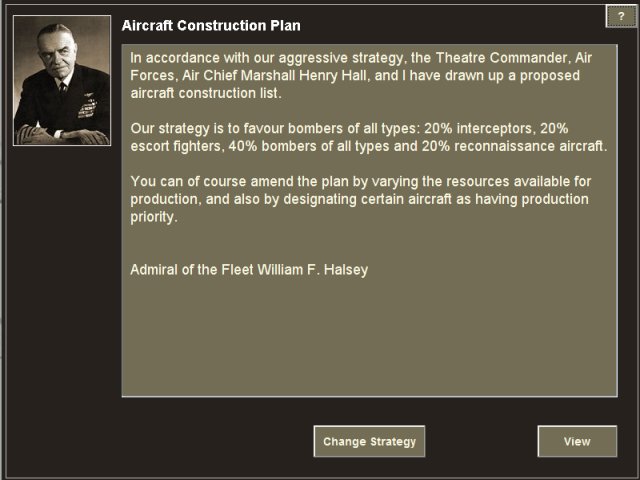
Your 2IC is ready to plan the construction of new aircraft suited to your overall strategy. (For example, more aggressive strategies favour more bombers). You can change the strategy but for now, click the 'View' button
 to see the plan:
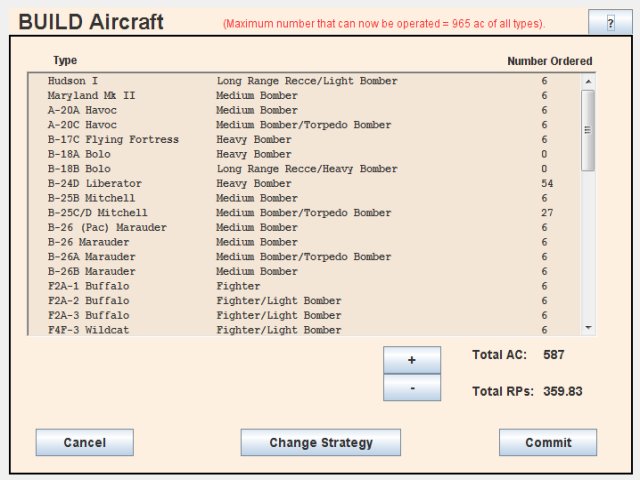
You can amend the plan by prioritising or restricting certain aircraft, or by directly placing orders for set numbers of certain aircraft, or by changing the overall resources spent on aircraft but for now, just accept the plan by clicking the 'Commit' button
 . You will now be back in your Admiral's Office. The build phase of the turn is now complete.
Now, click 'DONE' on the blackboard Build Menu:
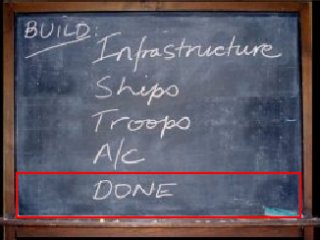
This returns the blackboard menu to the main To Do menu:
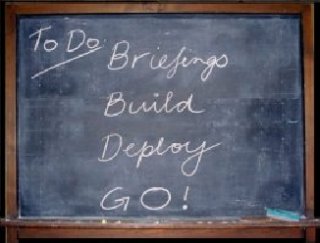
From here, you can start your deployment tasks.
Click 'Deploy' on the blackboard To Do menu:

You will now see the Deploy menu:
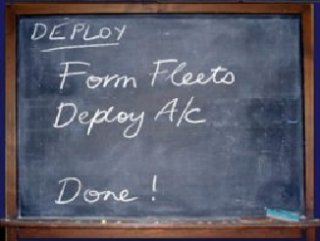
SAS WW2 gives you complete flexibility to choose the degree of control you want over this most important task. At the most extreme end, you can manually assign ships to fleets and set the route, rules of engagement and other orders for each fleet. At the most simple end, you can get your 2IC to plan everything for you with one mouse click. And there are many intermediate control options as well.
For this simple guide, you will use your 2IC to plan everything.
Click 'Form Fleets' on the blackboard:
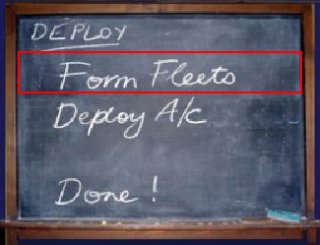
You will now see this screen:

Your 2IC is ready to plan missions for your ships based on your strategy - from cautious patrols and convoys through to more aggressive bombardments, blockades and amphibious assaults. There are fourteen possible mission types. For each mission, the 2IC finds the best target hexes and the most suitable ships and sets up each mission if enough of the right ships can be found.
To authorise your 2IC to prepare the plan, click the 'Yes' button: .
It may take a little time for your 2IC to plan all the missions, as there are many factors to consider. During this time, a progress bar and text message updates you on what is happening:

When the plan is complete, details of the planned missions will be listed:
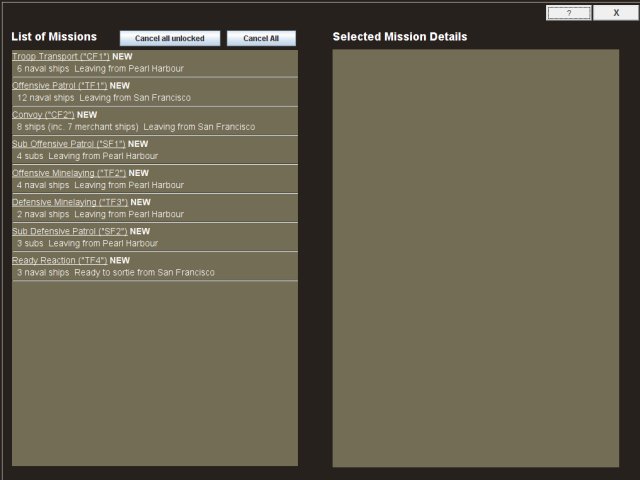
You can view the details of any of the missions, cancel any and try again, but for now, just note that that you have some convoy and troop transport missions, some offensive patrols by surface ships and subs, and some minelaying missions. The remainder of your ships are placed in 'Ready Reaction' fleets - available to steam out at short notice to intercept enemy that come close enough.
You can view the route any mission will take, and other mission details, by clicking on it in the left-hand list. Details of the selected mission now appear on the right. The illustration here shows details for the 'Offensive Patrol' by fleet 'TF1':
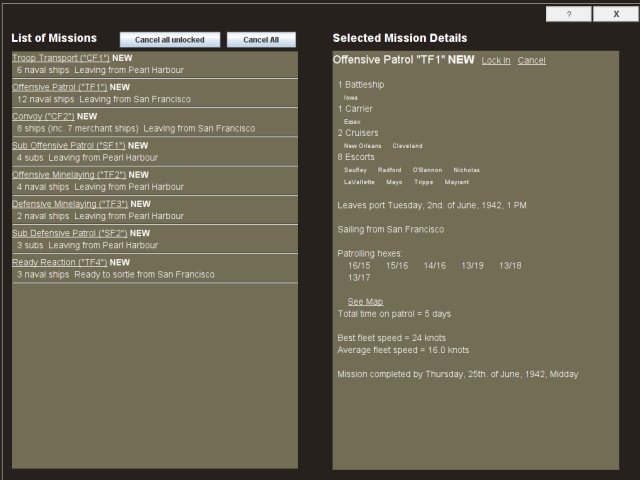
To view the proposed route on the map, click the See Map link in the details page. You will see the route marked as a series of white crosses, with the actual objective hexes for the mission marked as red crosses:
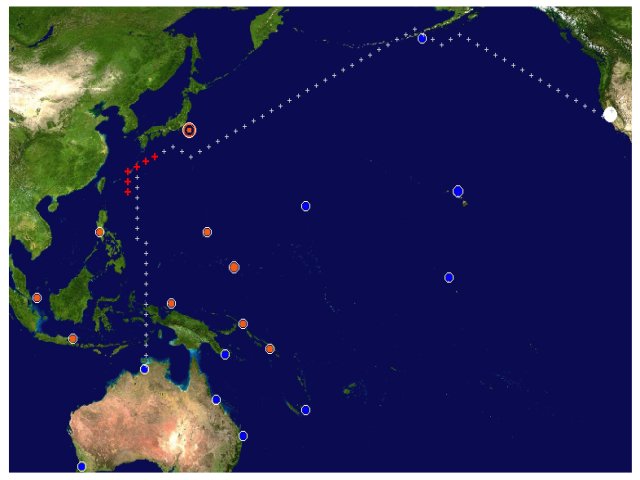
Close the map by clicking anywhere on it.
Now close the List of Missions list by clicking on the top-right 'X' button:

The Theatre Map is now displayed, and the fleets involved in the missions are shown in a list on the right-side of the map:

You can select any fleet and see more details of the route path and so on; but for this walk-through, just click the top-right SASWW2 icon to close the map and return to your Admiral's Office. You have now completed the task of deploying your fleets (including the transport of any troops to your own ports or to enemy ports to assault them).
Your last task before running the turn is to deploy aircraft to your carriers and airfields.
Click on 'Deploy A/C' on the blackboard Deploy Menu. You will see this screen:
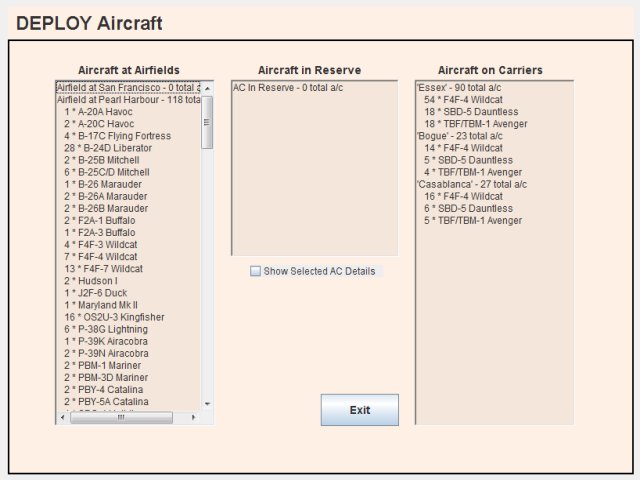
Your 2IC has already planned the deployment of all available aircraft based on the type and number of aircraft you have, and the type and number that can be operated from each of your airfields and carriers.
You can change any of these decisions if you want, but for now, just click the 'Exit' button to agree to the plan:
 . This returns you to your Admiral's Office. Your deployment tasks for the turn are now finished.
So, click 'DONE' on the blackboard Deploy Menu:

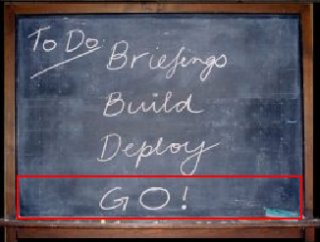
This returns the blackboard menu to the main To Do list, where in a moment you will be choosing to run the turn:
Now that you have finished your build and deploy tasks, you are ready to run the turn.
When you run the turn the computer first calculates all enemy build and deploy orders (if the enemy side is computer-controlled). Then the computer puts your orders together with your enemy's and calculates all the action hour-by-hour.
The calculation includes the very important task of making emergency responses for both sides. Your fleet deployments (and those of the enemy) were made by planning several weeks ahead; but the best laid plans always need minor or major modifications in the face of reality! The enemy may suddenly appear where he wasn't expected. New threats and opportunities arise all the time. And your fleets may be unable to complete their assigned mission due to damage.
As the calculation progresses you can selectively override the computer's recommended emergency hourly responses for any of your fleets, airfields and airstrikes. (See tactical responses for more information). But for this walk-through we will keep things simple: the calculation will be allowed to run through with no player interference.
On the main To Do list, click 'GO!':
You will now be asked to confirm that you are ready to run the turn:
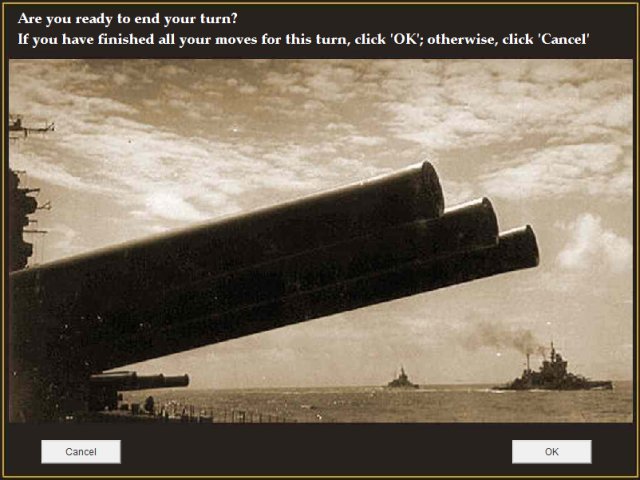
Click the 'OK' button at the bottom-right of the screen.
In the Intro campaign, the enemy's first turn moves have not yet been done. You will now see a screen that asks you if you want the computer to make moves for the enemy:
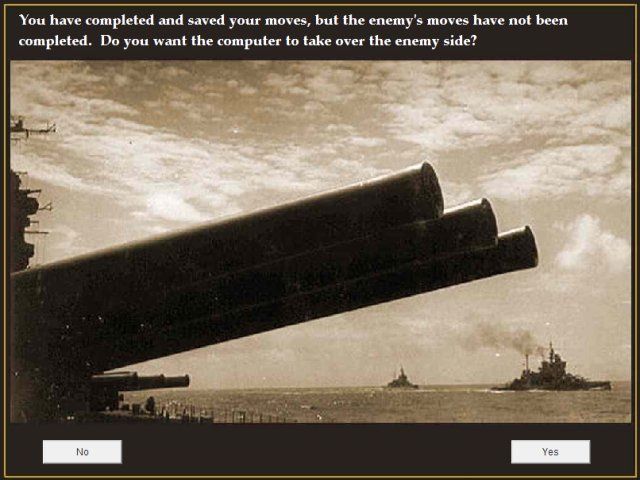
You could click 'No" and wait for another player to make moves for Japan. But for this run-through, and indeed anytime you want to just play against the computer, click 'Yes'.
The computer will now calculate all enemy moves. This may take a little time, but you get progress reports of the calculation:
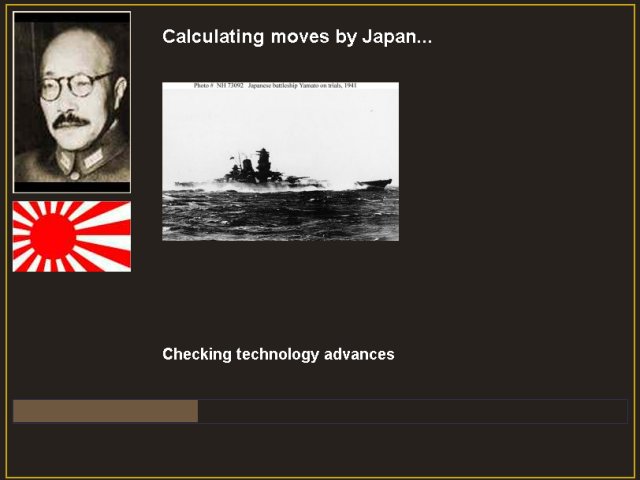
Usually the phase that takes the longest is when the computer is forming enemy missions. This may take a little while, so please just wait until it is all finished. The screen will then close automatically, and you will briefly see this screen, telling you that data for the run turn calculation is being prepared:
After a few seconds, when this is complete, you will see the run turn screen:
The screen shows a map of the theatre, and some controls at the bottom for running the turn. The calculation is paused at the first hour, awaiting your command to start the hour-by-hour calculation.
The message in the middle normally shows on the first hour - it announces all new ships that are commissioning (becoming available for play) this turn:
OK, we are ready to run the turn.
Now, to start the calculation, click on the '>' button at the bottom-left of the screen:

Make sure you have not clicked the '>|' button:  as this button calculates only one hour of action at a time.
The calculation will now run through the full four weeks of action, calculating all fleet and aircraft movements, battles, emergency responses and many other events.
As events occur, messages will appear on screen summarising the event and pointing to its location:
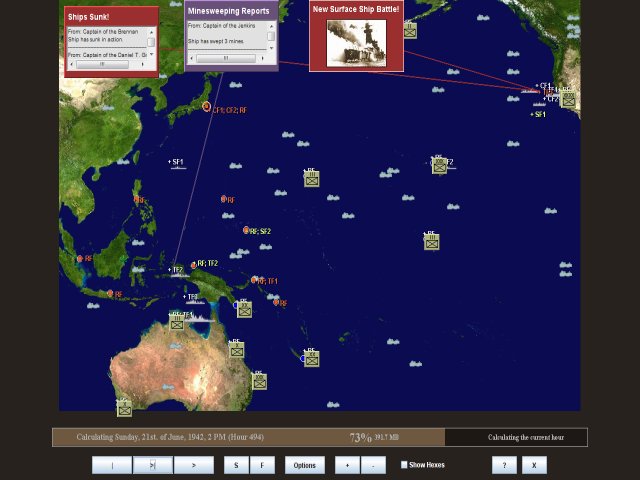
There are over thirty different message types; later, you can learn how to filter out the ones you are not interested in.
Some events are more important than others of course - such as reports of surface battles, air strikes or submarines encounters. The battle messages have links to detailed reports and, in the case of surface battles, full shell-by-shell action replays! Do not be concerned at this stage about following all the action. Later you can learn how to slow down or pause the calculation. In any case, all of the action is fully replayable at your leisure in the turn replay, which you will see soon. And the action is also summarised in the Briefing Report.
As the turn is calculated, the progress bar updates. Your fleets move on the map. Event messages of various kinds quickly flash before you. The current hour being calculated is shown at the bottom of the screen:

As the calculation progresses you can freely zoom in or out and drag the map around, and turn hexes on or off. You can pause the calculation at any time or slow it down. For ease of gameplay, many features support hot keys as well as the mouse. These features are best left for your later experimentation. For now, just let the calculation complete at maximum speed.
The calculation should take around a minute on a reasonably fast computer. If it takes significantly longer than this - say 4 minutes or more - then your computer specification may be too low for optimum gameplay. But there are also ways you can maximise performance with your existing hardware. You can consult the trouble shooting help page at any time if needed.
When the calculation is finished, a message will appear asking you to wait while the files are saved:
After a few seconds, the replay turn screen will then appear. It looks very much like the run turn screen but with a few more controls:

The replay is paused waiting for you to start it. Use the '>' or '>|' controls to move the replay forward either continuously or an hour at a time. The '>>|' control takes you to the end. The '|<<', '|<' and '<' controls work the same, but in reverse. The '|' button pauses the replay. For an overview of this and other features of the replay screen, see replay the turn.
For now, just close the replay screen by clicking on the close button at the bottom-right of the screen: 
This takes you back to your Admiral's Office.
You can bring up the replay screen again at any time by clicking 'Briefings' on the blackboard To Do main menu, and then clicking on the newsreels at the right-hand side of the screen.
You have previously seen the Briefing Report in this overview, but at that stage, there was no action to report.
If you click on 'Briefings' on the blackboard To Do main menu, you will see the Briefing Report as updated for the events of the turn just calculated.
In particular, the 'Action Reports' appendix lists all battles of any kind and provides hyperlinks to each battle report.
Go to this appendix now by clicking on 'Action Reports' in the front page table of contents - it is the first Appendix, or else by scrolling through the report:
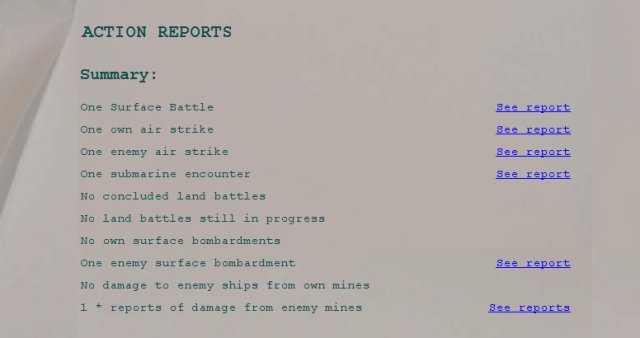
The report should now display the Action Reports appendix.
Note: the following notes are illustrative only. Version 1.1 of SAS has introduced changes in combat mechanics which mean that the Intro campaign will not result on your computer in the exact results detailed below. Please treat the following outline as illustrative only.
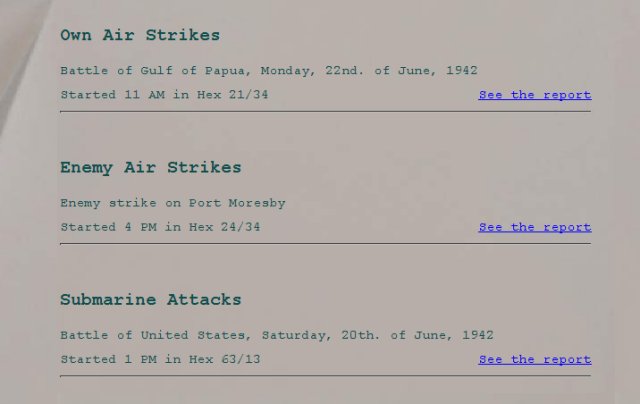
The summary should list a variety of actions: for example: a surface battle, some air strikes by you and your enemy, a submarine encounter, a surface bombardment and one instance of damage from enemy mines:
If you click on the 'See report' hyperlink, adjacent to where it says "One surface battle", you will jump to the 'Surface Battles' section of the Action Reports. Here, any battles are listed in more detail:

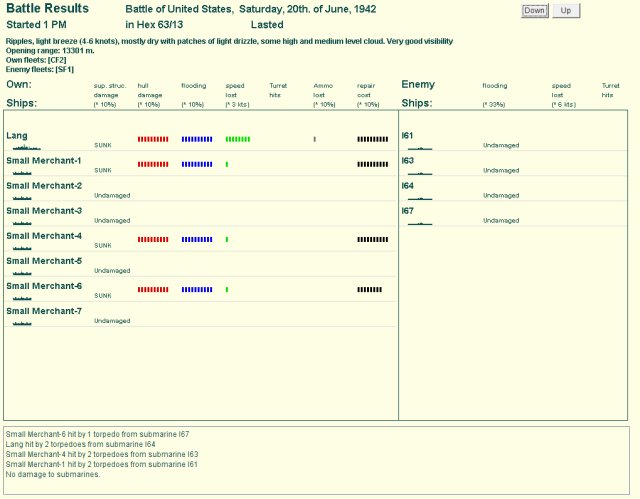
Now click on the 'See the Report' hyperlink adjacent to where it says 'Battle of United States...'. You will see summary results of the battle:

Help is available on how to interpret the information on the summary. But for now, just be aware that the summary graphically displays battle damage for all ships.
Best of all is the unique feature that allows you to replay the entire battle, shell-by-shell. Simply click on the 'Replay battle' button at the top-right of the screen:
 . You will now see this screen:
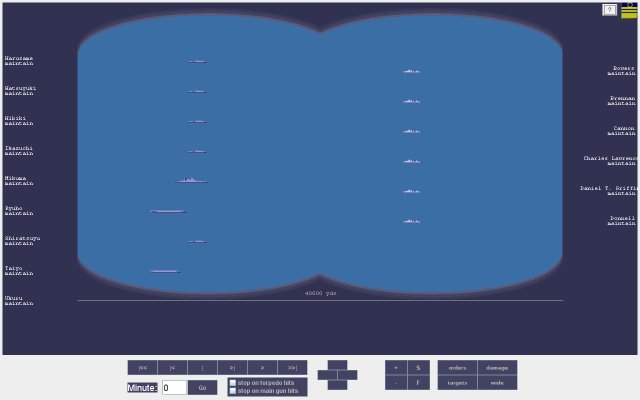
The screen has many controls for re-playing the battle forward or backwards at varying speed, zooming in and out, and optionally stopping on main gun or torpedo hits. You can view the ships changing target and movement orders and watch as damage of varying kinds accumulates on each ship.
For this walk through it is suggested that you simply close the screen by clicking on the SAS WW2 icon at the top right side. Later you can explore this screen in more detail. Now click again on the SAS WW2 icon at the top-right side of the battle summary screen to close it. You should now be back viewing the Briefing Report Action Reports appendix.
The Action Reports appendix should also have links to the other battles: two airstrikes and a submarine engagement. If it is not immediately visible, scroll through the Briefing Report until it is:
Follow the links to see similarly presented summary reports on these battles. You may note that while the two air strikes were rather inconclusive, the submarine engagement was not - four allied merchant ships being sunk by Japanese submarines:
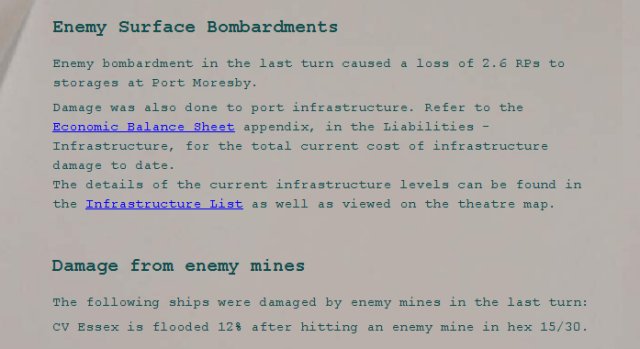
Finally in terms of action reports, the appendix summarises details of an enemy bombardment of Port Moresby, and of damage to the Carrier Essex from enemy mines:
As well as battle summaries, the Briefing Report summarises your overall economic position, your naval, air and troop losses, provides updated intelligence on the enemy, and much else as well. You can learn how to read the Briefing Report at your leisure later. For now, just close the Briefing Report by clicking on the SAS WW2 icon at the top-right hand corner.
You have now reached the end of this 5 minute walk-through. You have made all decisions for a whole turn (being four weeks of real action). And you have then played the turn out, seen the events unfold and learnt a little about the replay screen and the Briefing Report.
From here, it is up to you how deeply you wish to delve in your games. You have seen how easy it is to make all your crucial decisions simply by relying on your 2IC. But when you are ready and interested, you can learn how to take more control in any area: perhaps selecting or designing some ships, or even your whole navy; or taking a more active role in operational orders, using any of the multiple command levels that are possible. During turn calculation, you may want to take hands on control of specified fleets or airfields, determining fleet emergency orders and air strike targets and profiles. You may want to reduce the length of the operational turn to one or two weeks, so that you can direct the war effort in considerable detail. You can also learn to use the Campaign Creator to set up your own campaigns, accepting historical default values or playing with history as you see fit.
All these choices await you, and as explained below, in-built help pages guide you every step of the way.
Apart from this manual, the game has a rich set of hyperlinked help files to instruct you on every aspect of the game.
Almost every screen has a '?' button. When you press it, context help for that screen will be shown. The context help is tailored to tell you all that you need to know about the screen - how to read any information and how to use any controls it presents.
In addition, there is a complete help guide available by clicking on the bookshelf in your Admiral's Office:
The full help guide has a left hand menu to help you navigate. Among other things, it has a 'How to Play' section that tells you all you need to know to harness the full power of SAS WW2.
We at NWS hope you enjoy playing SAS WW2 for many hours. We hope you find it both challenging and very playable.
Good luck Admiral!